
How to Ski with a Camera
Why would you want to ski with a camera?
Maybe it's because you want to capture the beauty of freezing winter wonderlands (which is enough motivation for me) or you want to capture your friends throwing down sick moves in fresh pow.. Whatever the case may be, bringing your camera on a ski touring adventure poses some risk and comfortability, mentally and physically.
But if I can do it, so can you!
It's only my second year skiing EVER, and I carry my heavy Sony full frame camera. That extra weight may or may not have contributed to me diving headfirst into the snow once or twice—but to be fair, it didn’t take much to make that happen in the first place.
Still, if you are a truly devoted photographer, you'll do just about anything to bring your beloved (and expensive) camera along to get the shot! And you know how it goes. You tell to yourself, "Today I'm not bringing my beloved camera and I'm going to just enjoy the experience." That's fine and dandy but then you get out there and it's the BEST LIGHTING EVER WITH THE BEST VIEWS!! Now you are batting yourself over the back of the head with your ski pole because you decided not to bring your camera. And by the way your friends are fine because they didn't have a cool camera to bring. Actually, they aren't photographers at all so now you're alone and no one understands your pain and it's cold out there! so very cold...
It's ok, you'll get over it some day.
Or.. you can bring your camera.
Here is how I bring my camera:
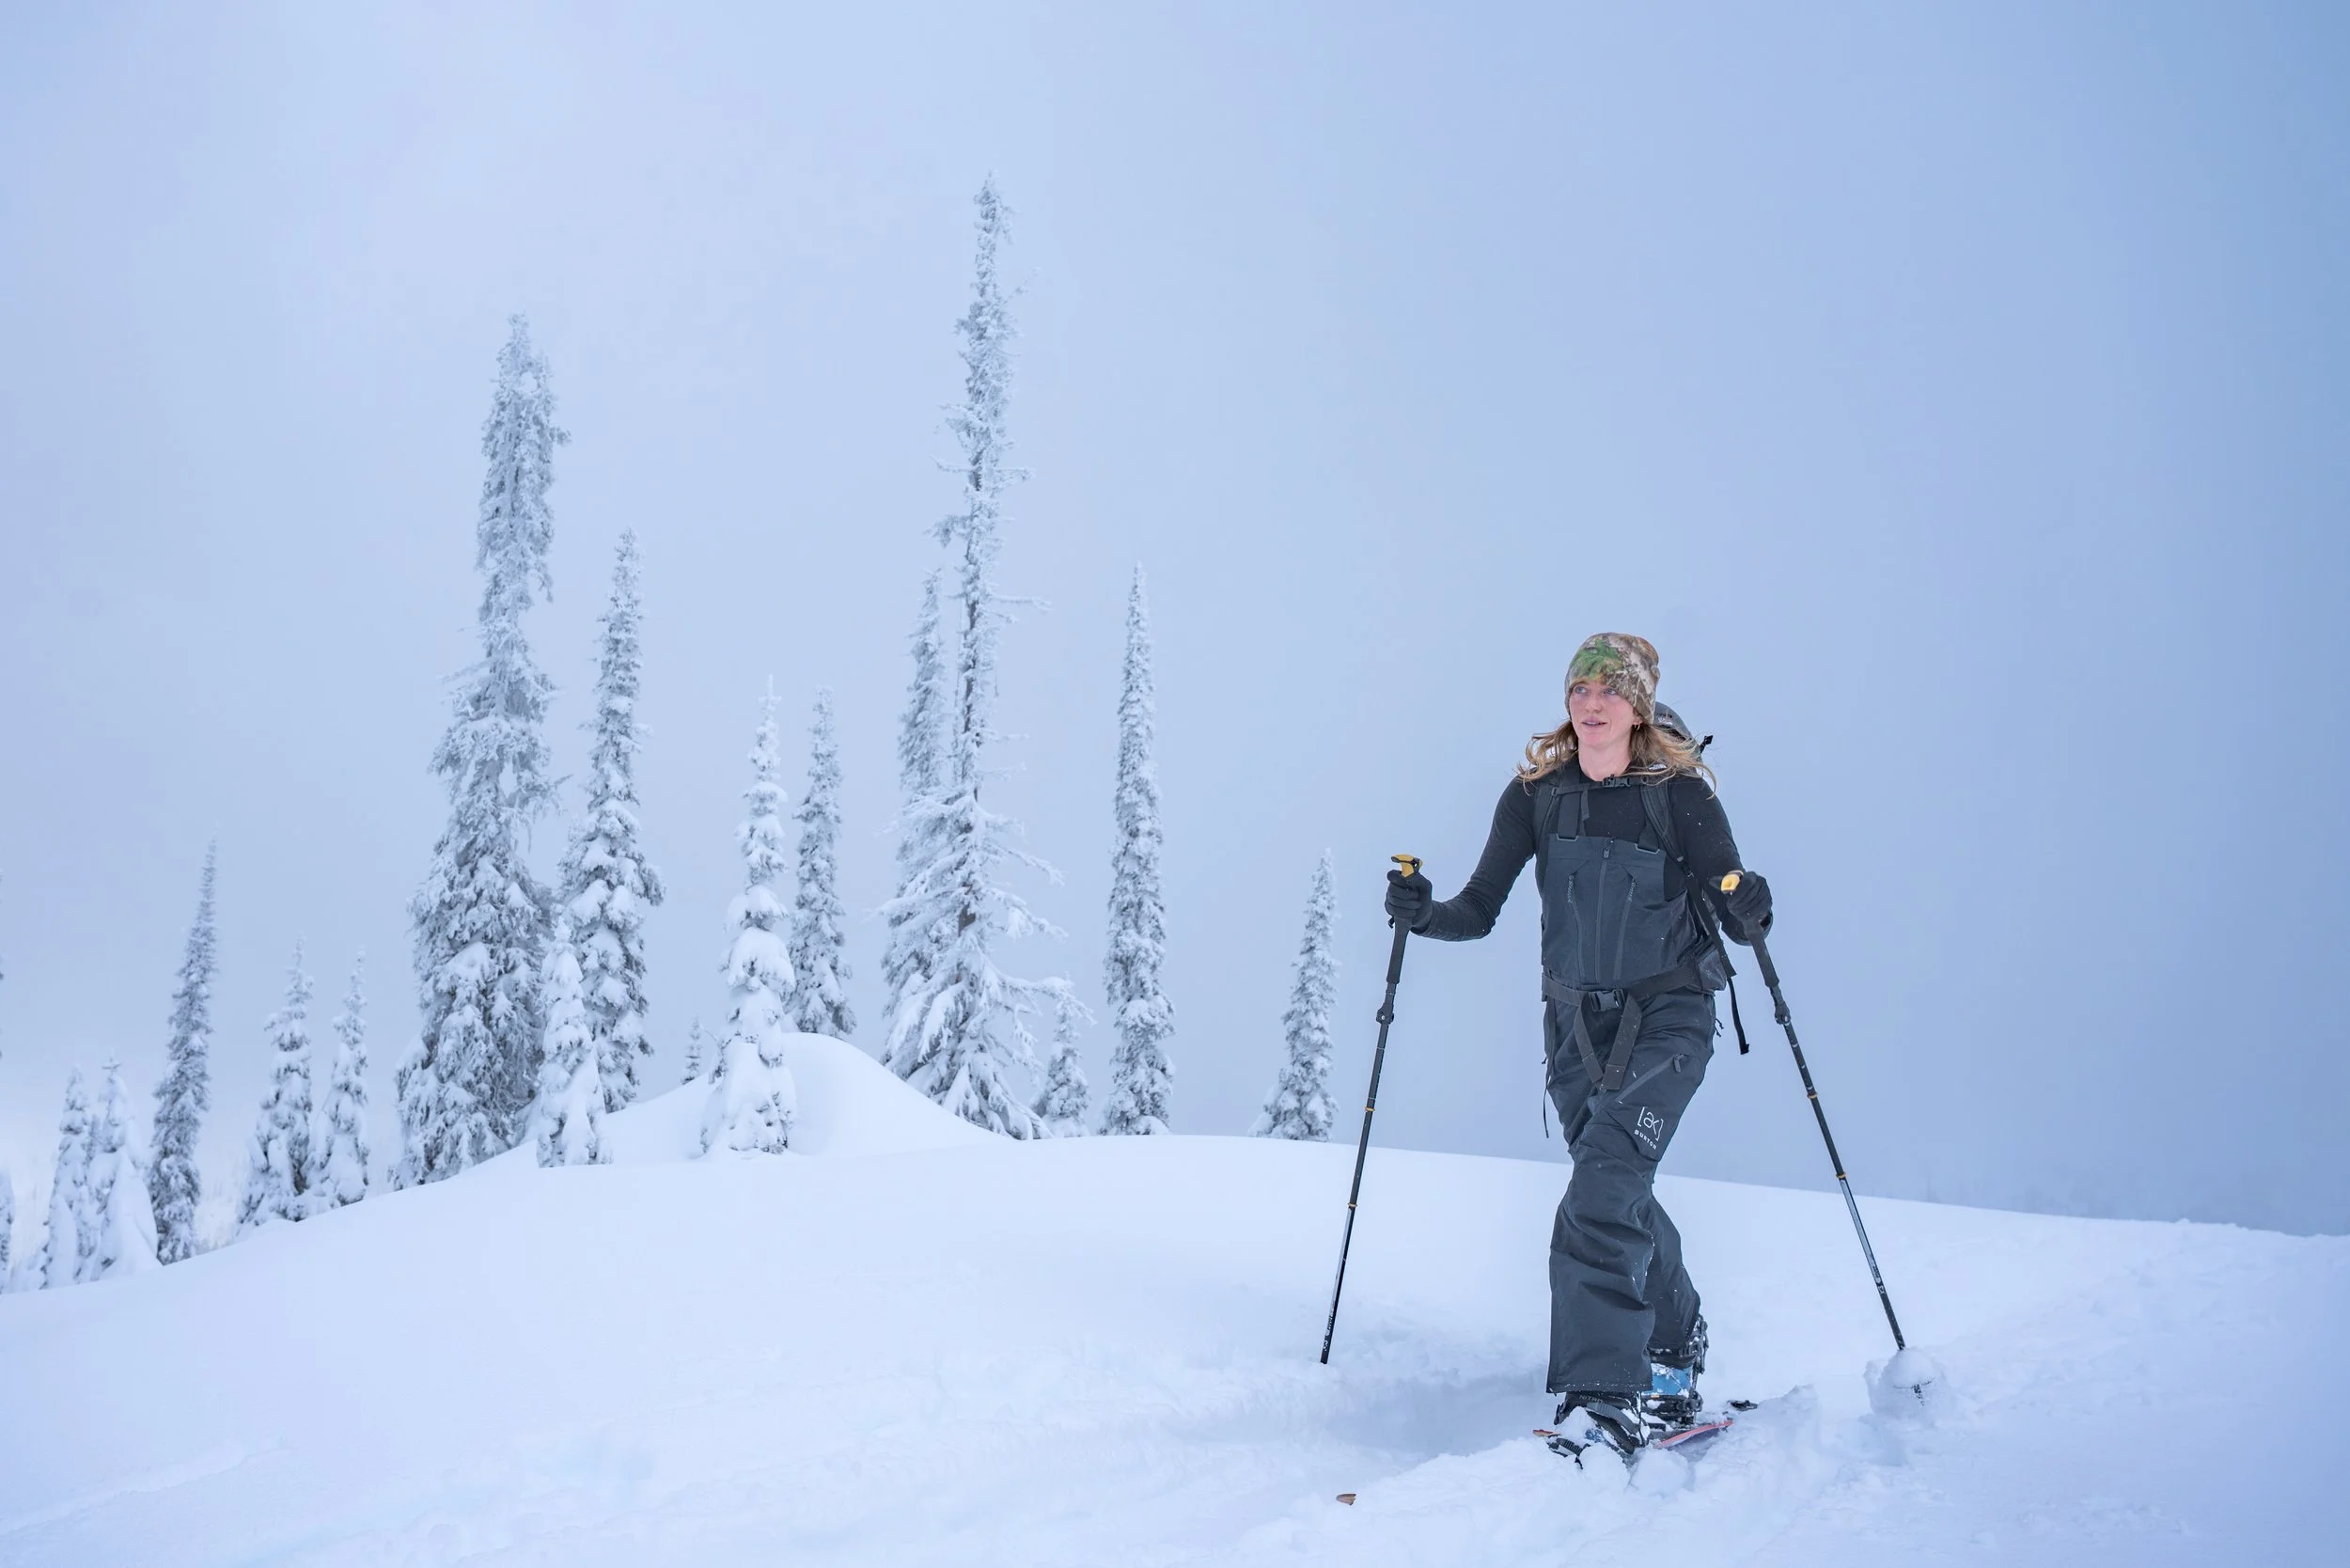
I keep my camera in this F-Stop bag that has served me well over the past six years of adventures. It is strong, durable, and padded on the inside to keep your camera safe and sound from bumps and scraps. It also has the capability to fold and become smaller if your camera is small enough. Alternatively, you can find a camera bag at your local thrift store for a fraction of the price, which I’ve also done before.
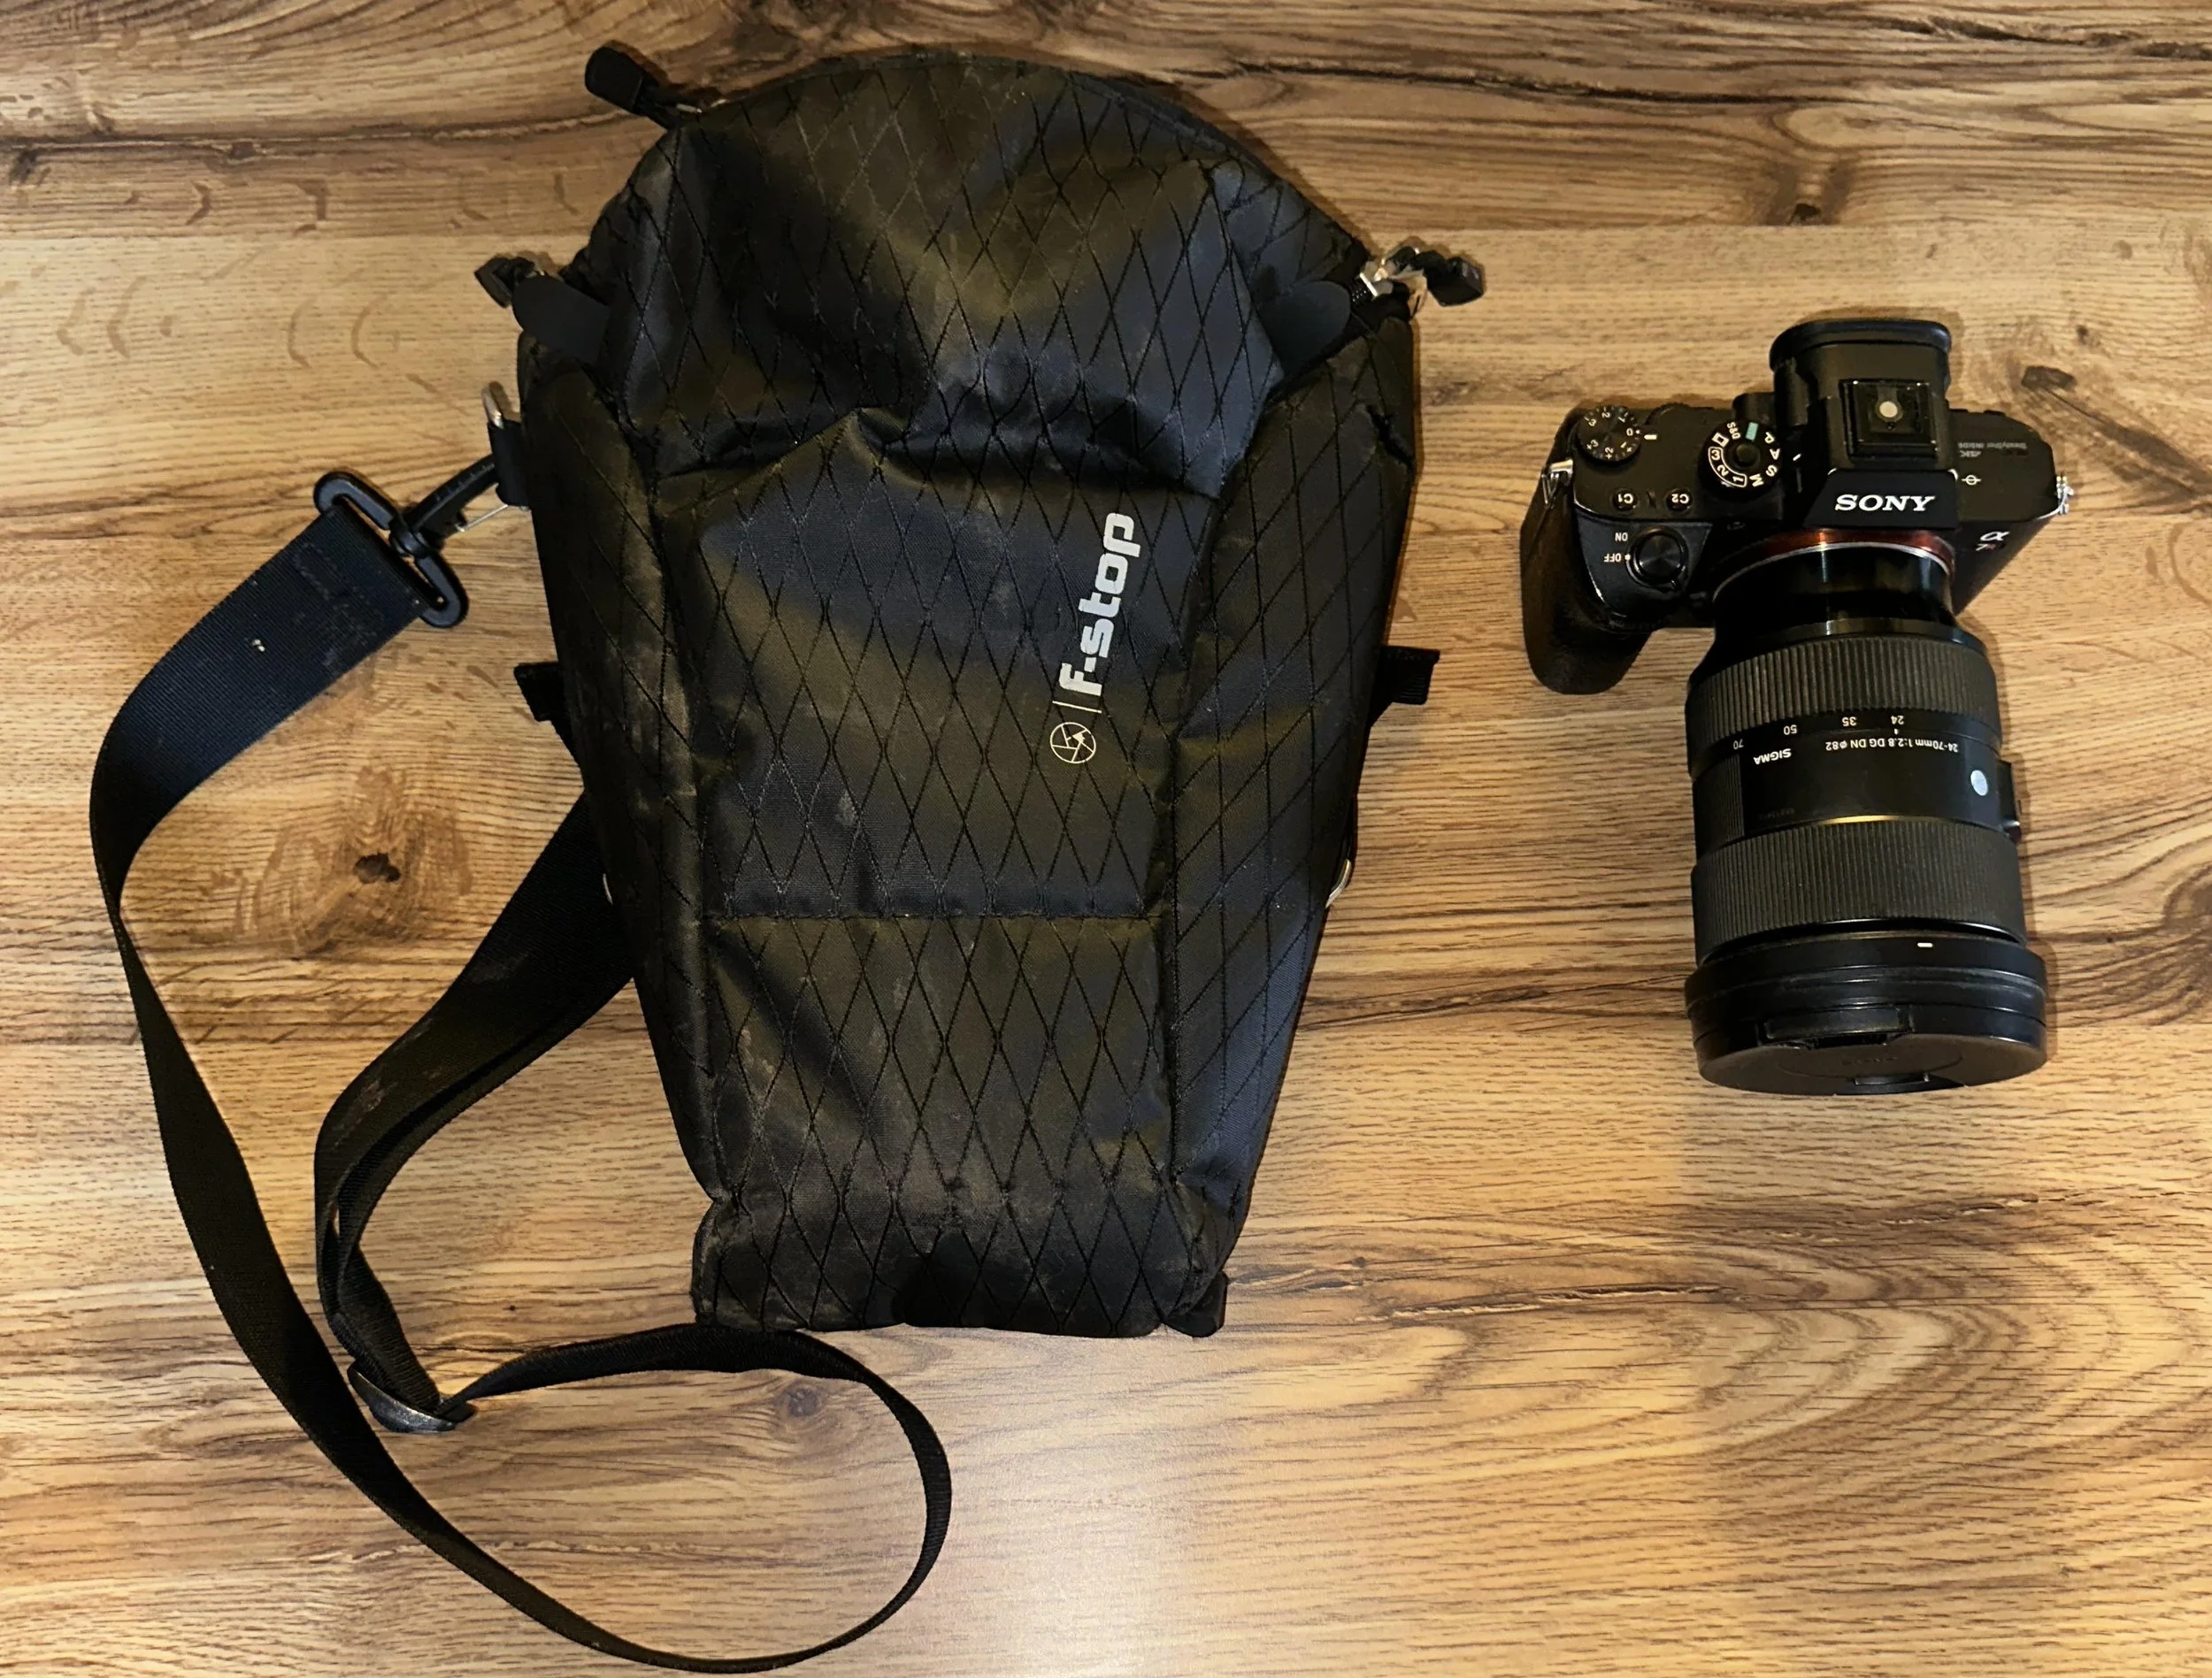
This bag goes into my ski touring backpack, where it is easily accessible and taken out when I anticipate there will be notable moments to capture. I usually leave it out for the downhill portion of the adventure.
How I put the bag on is worth mentioning. As you can see in the image, it uses an over-the-shoulder strap. If you are like me, having anything hanging on one shoulder is a recipe for a sore neck. I’ve come up with a solution for this—your backpack just has to be big enough, otherwise it won’t work. Instead of sticking my head and one arm through the strap, I stick my head and both arms through so the strap rests on the top of my backpack, and bazinga! You can then move your camera bag to the desired side of your body without a sore neck.
Getting the Shot:
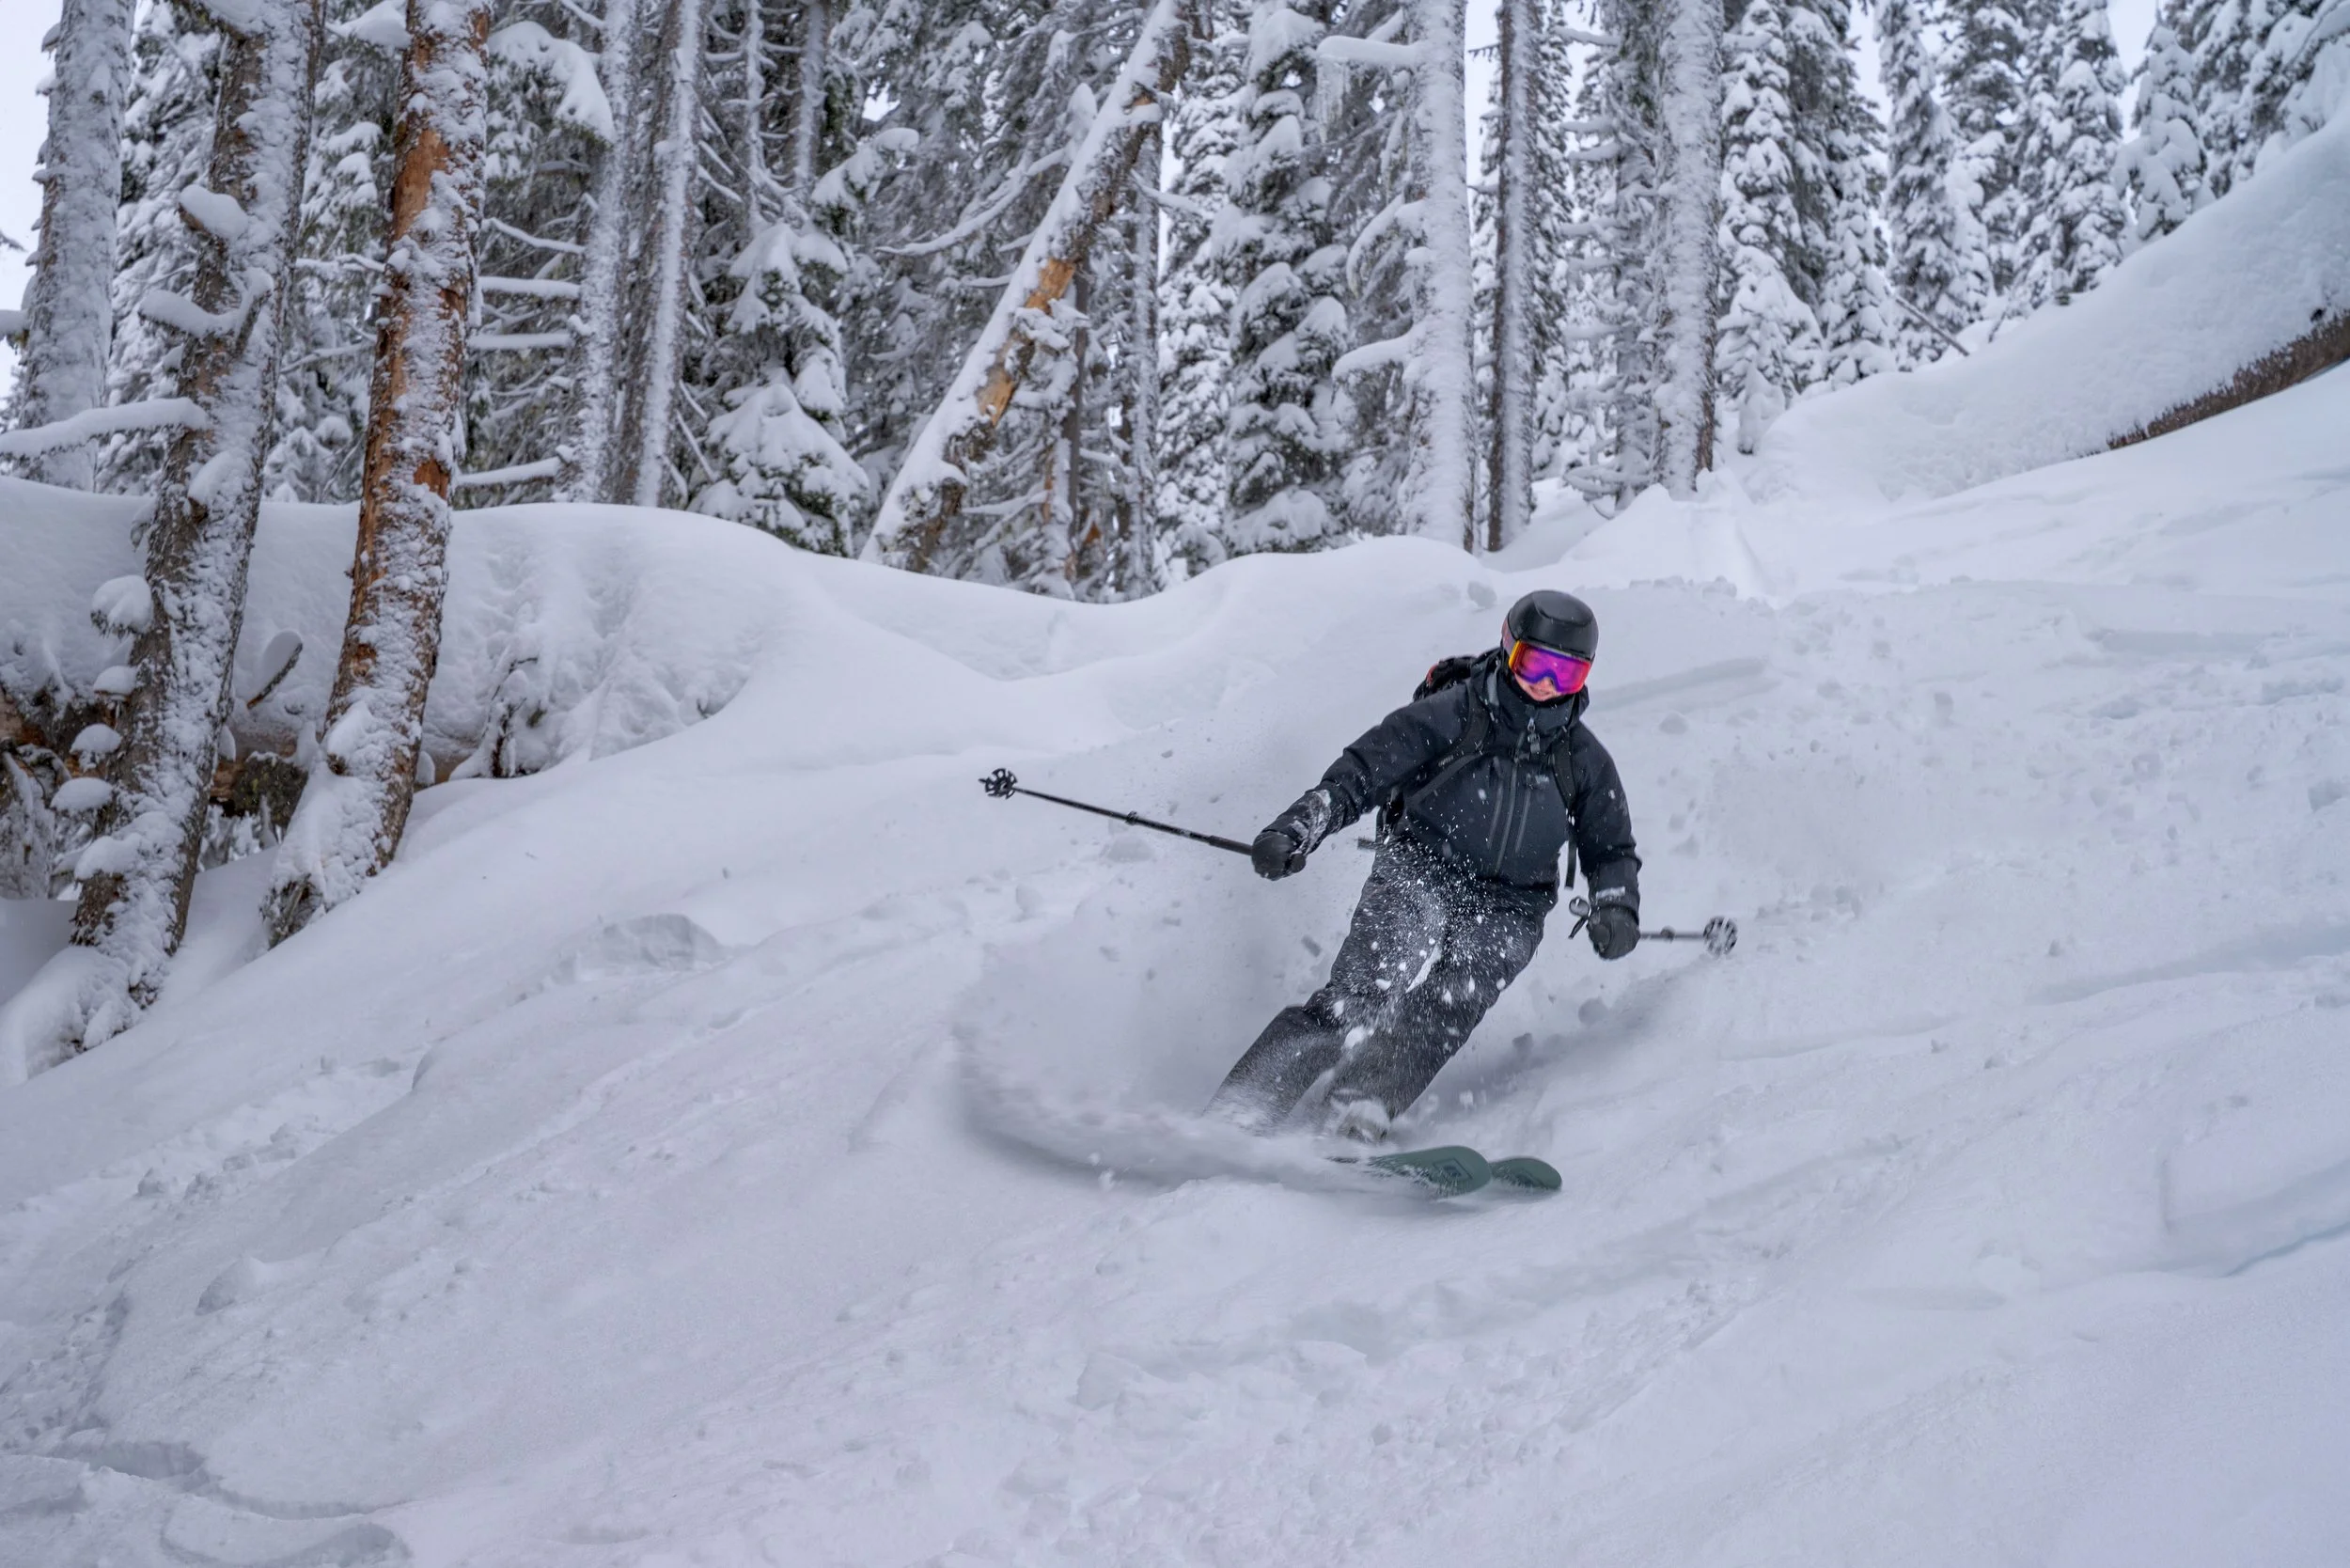
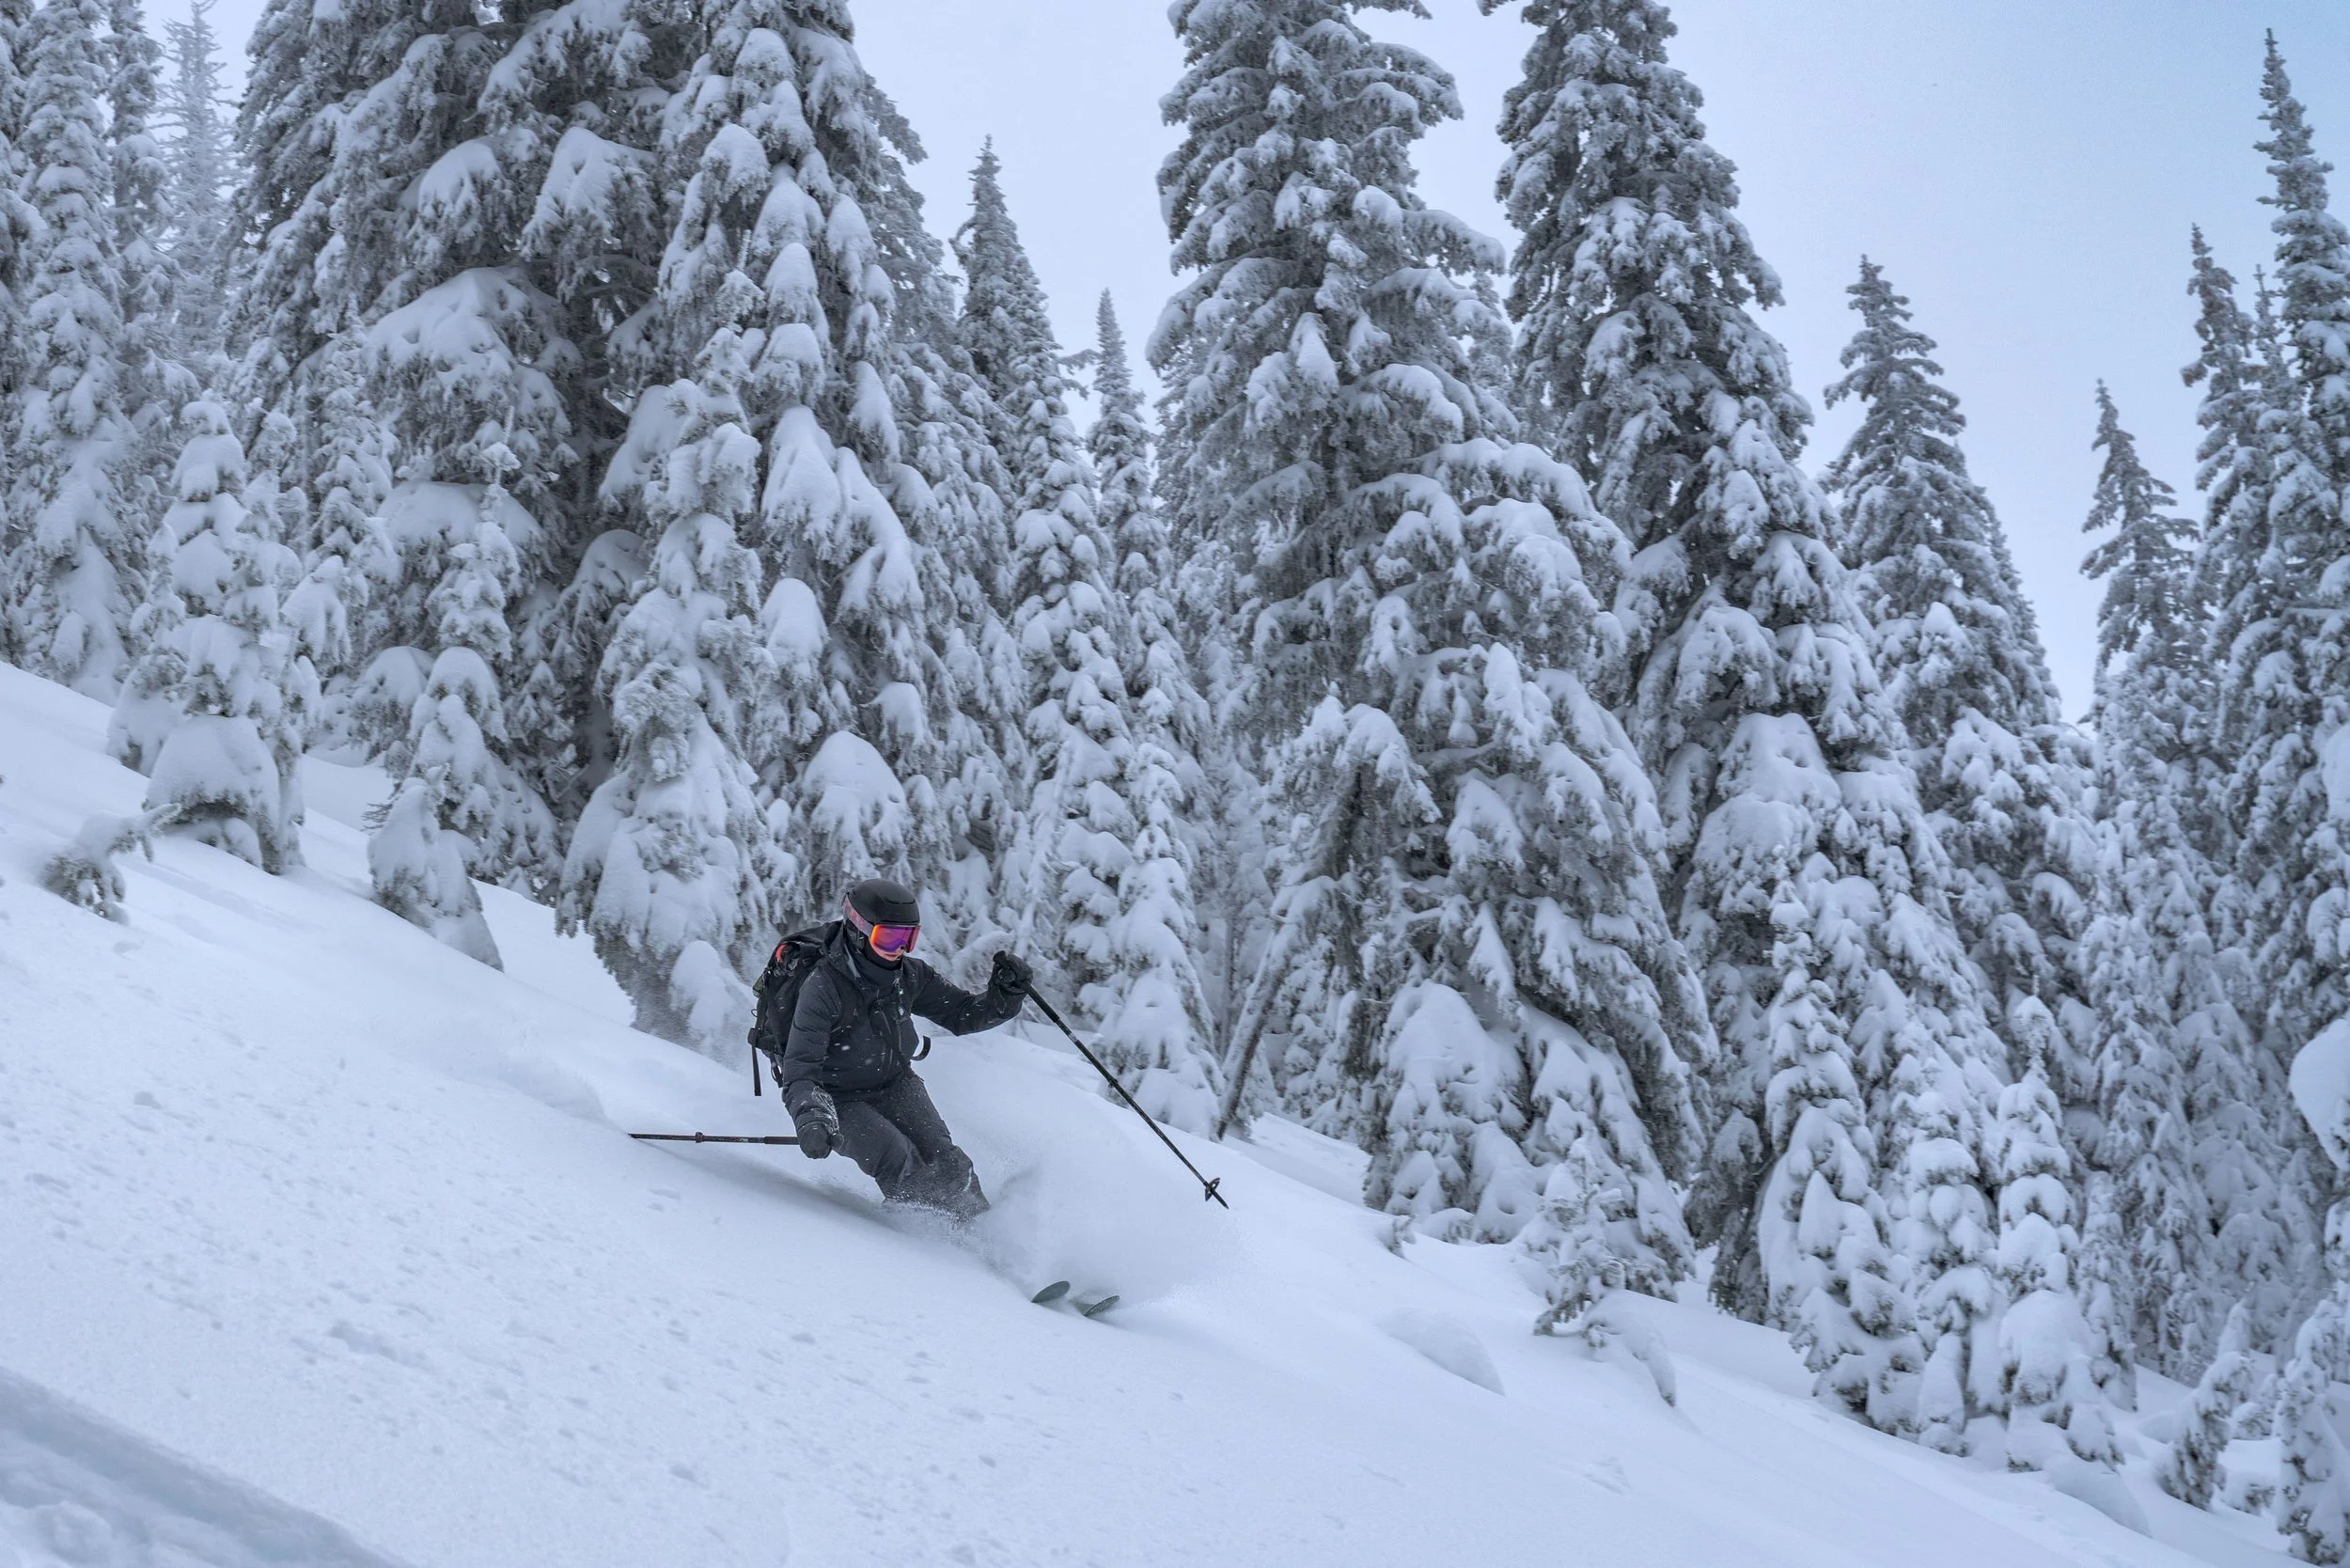
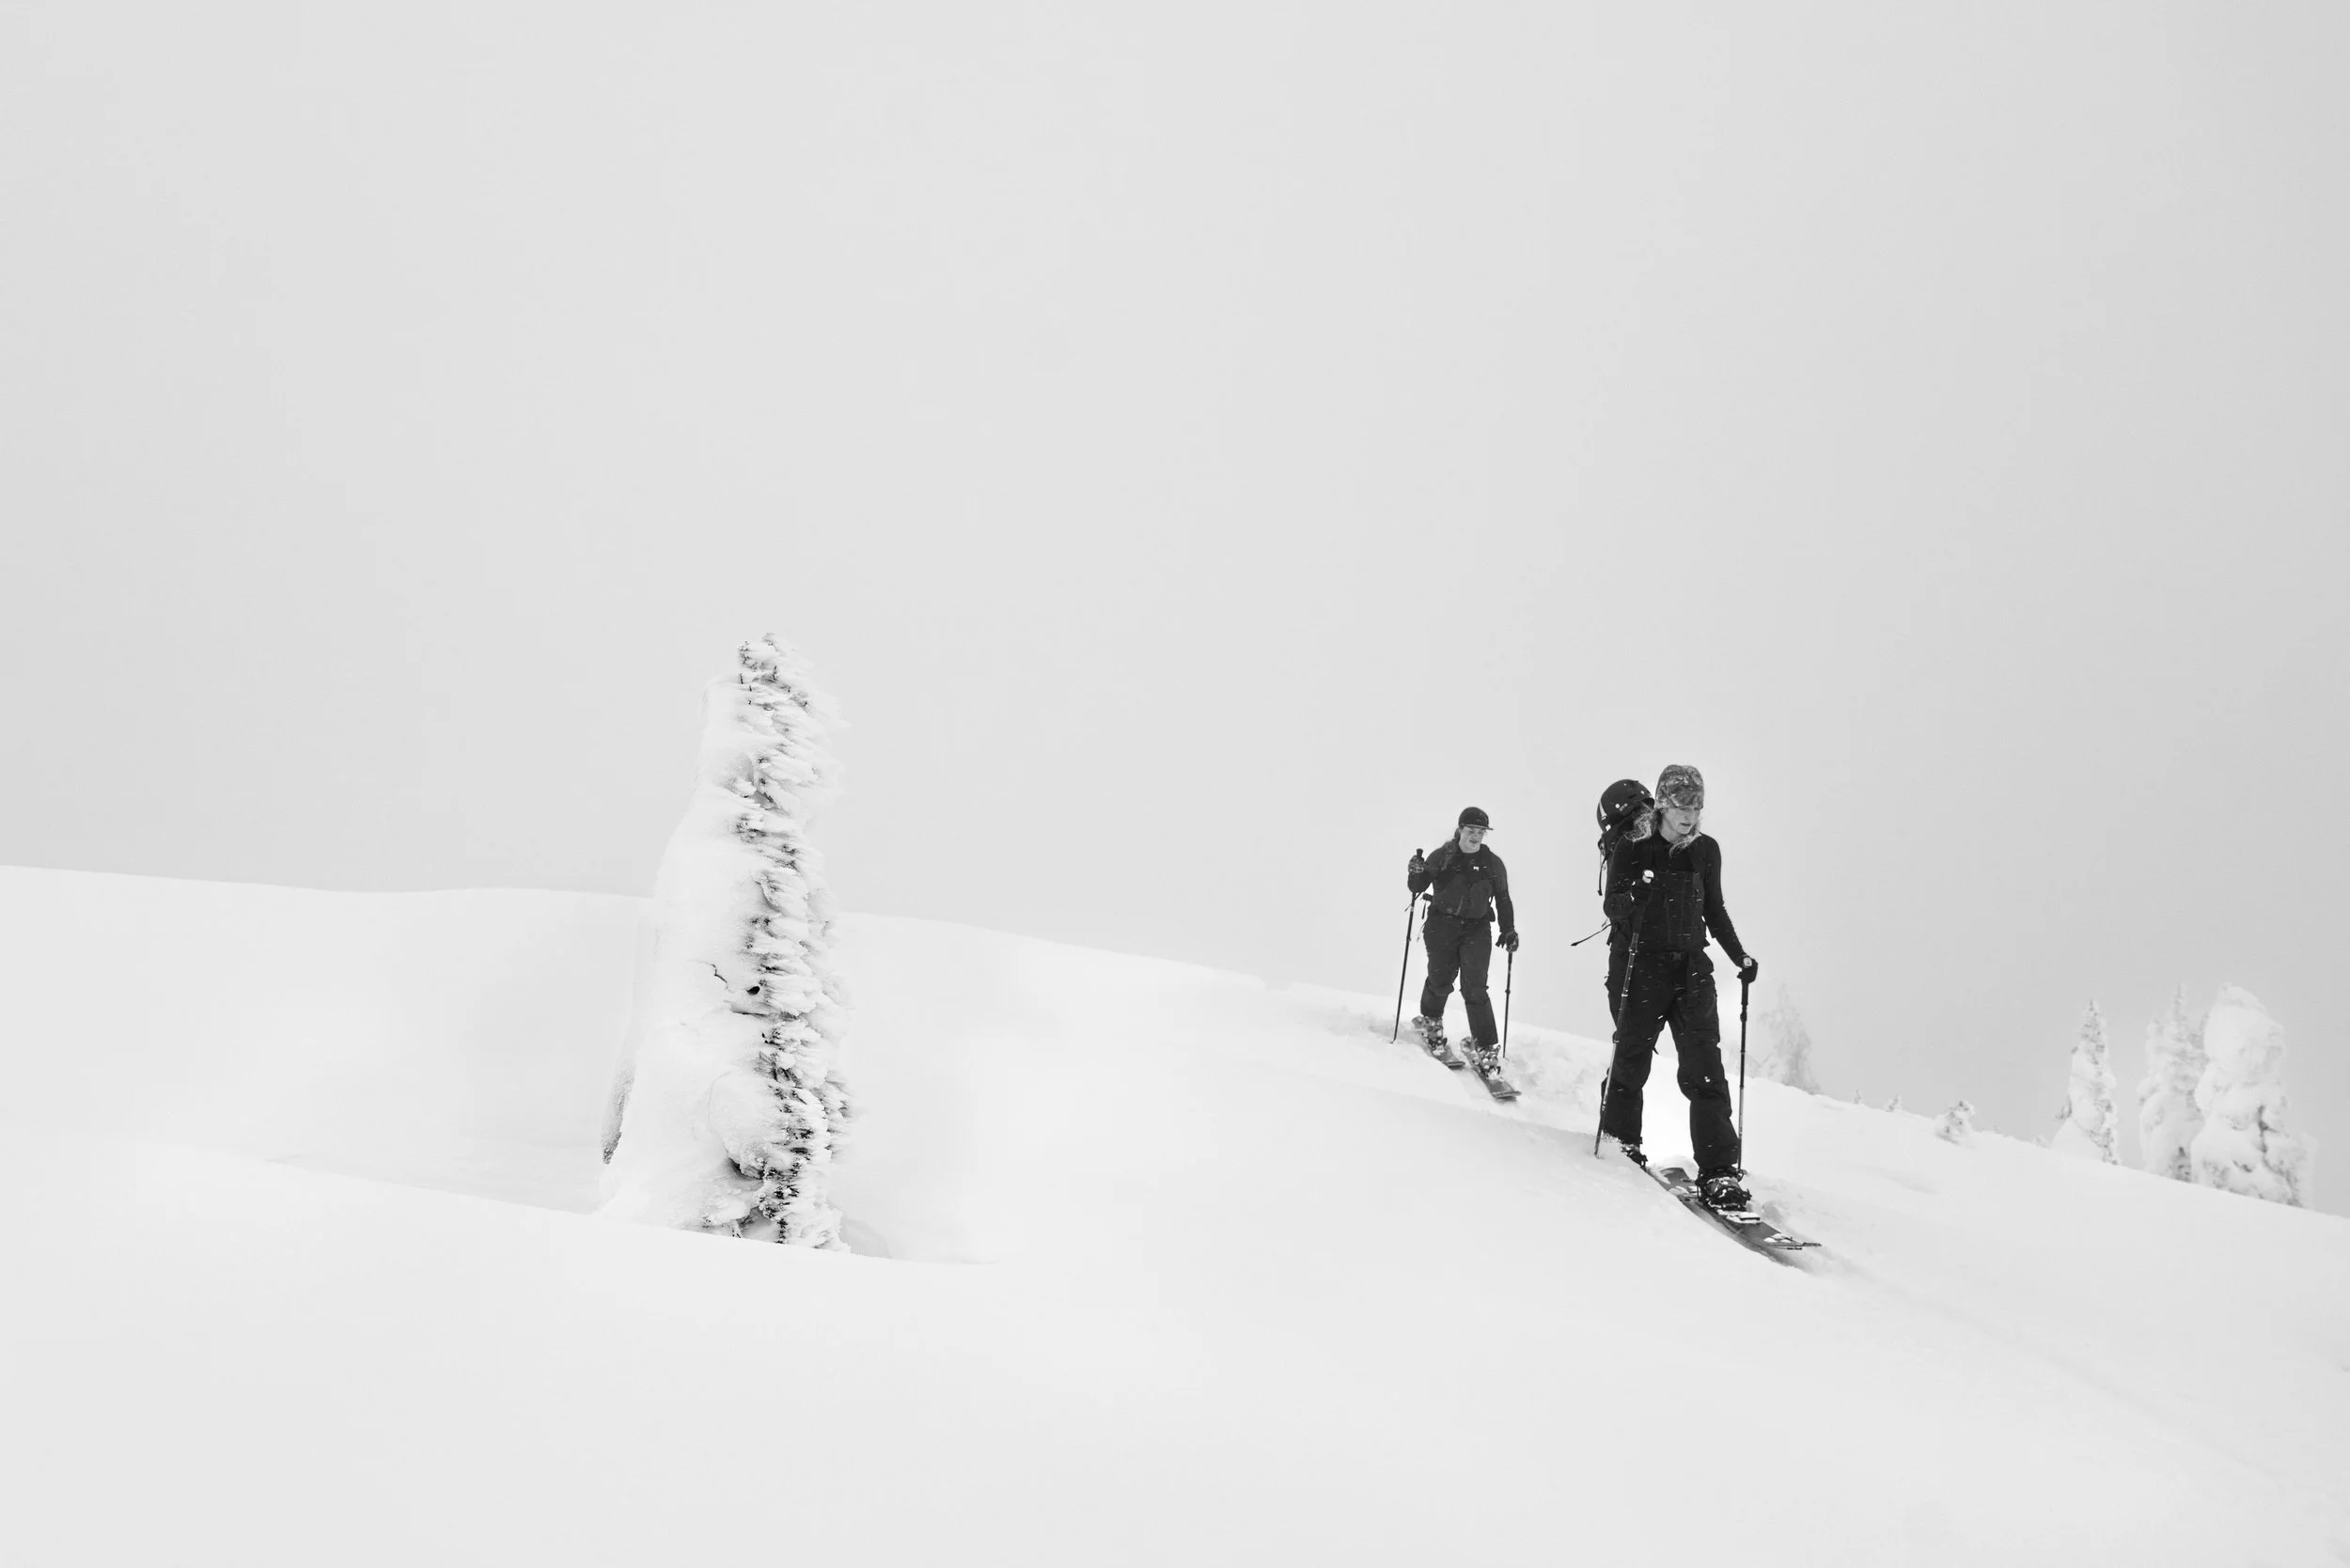
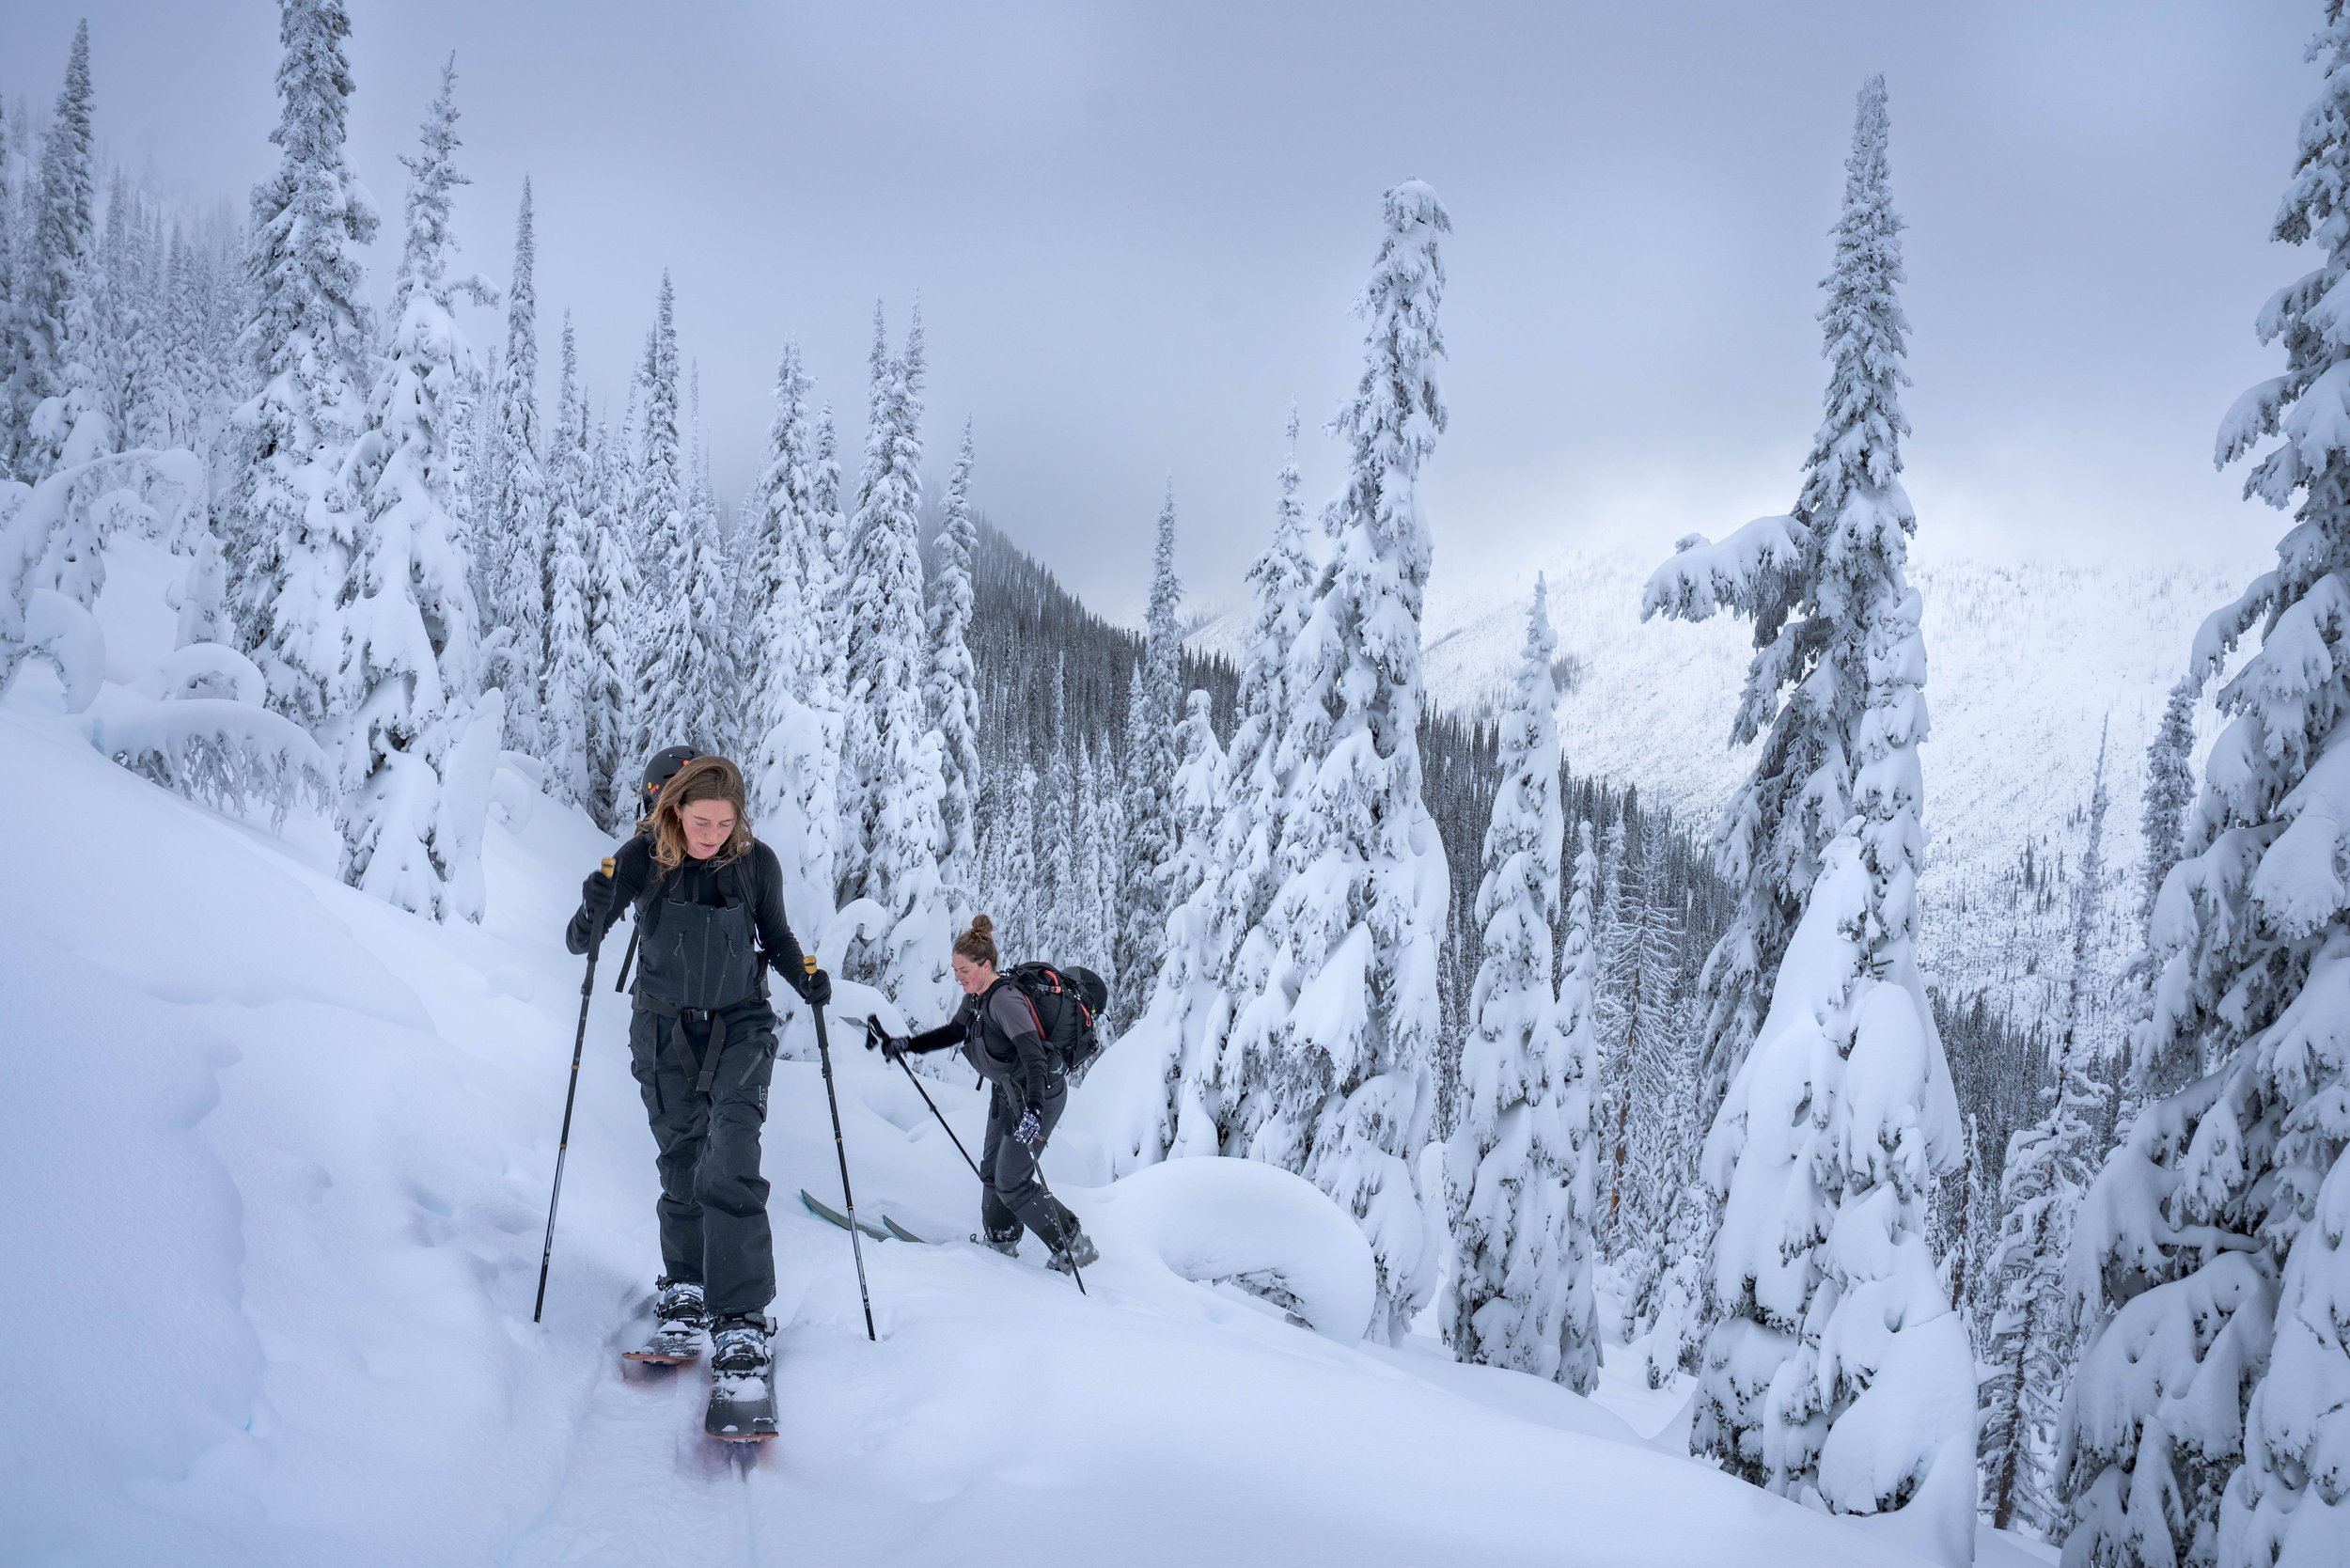
Getting ahead of your subjects to set up for capturing a photo is easier when you’re in walk mode or hiking, but it’s not practical when you’re skiing down a mountain at high speeds. Instead, it can be natural and seamless. When you and your party are stopped, you can politely let everyone know that you’re going to ski down a little ways to take some pictures—preferably staying in sight and not too far away. Set up for picture taking, and let them know when you’re ready to have them ski into the frame. This gives you enough time to get set up.
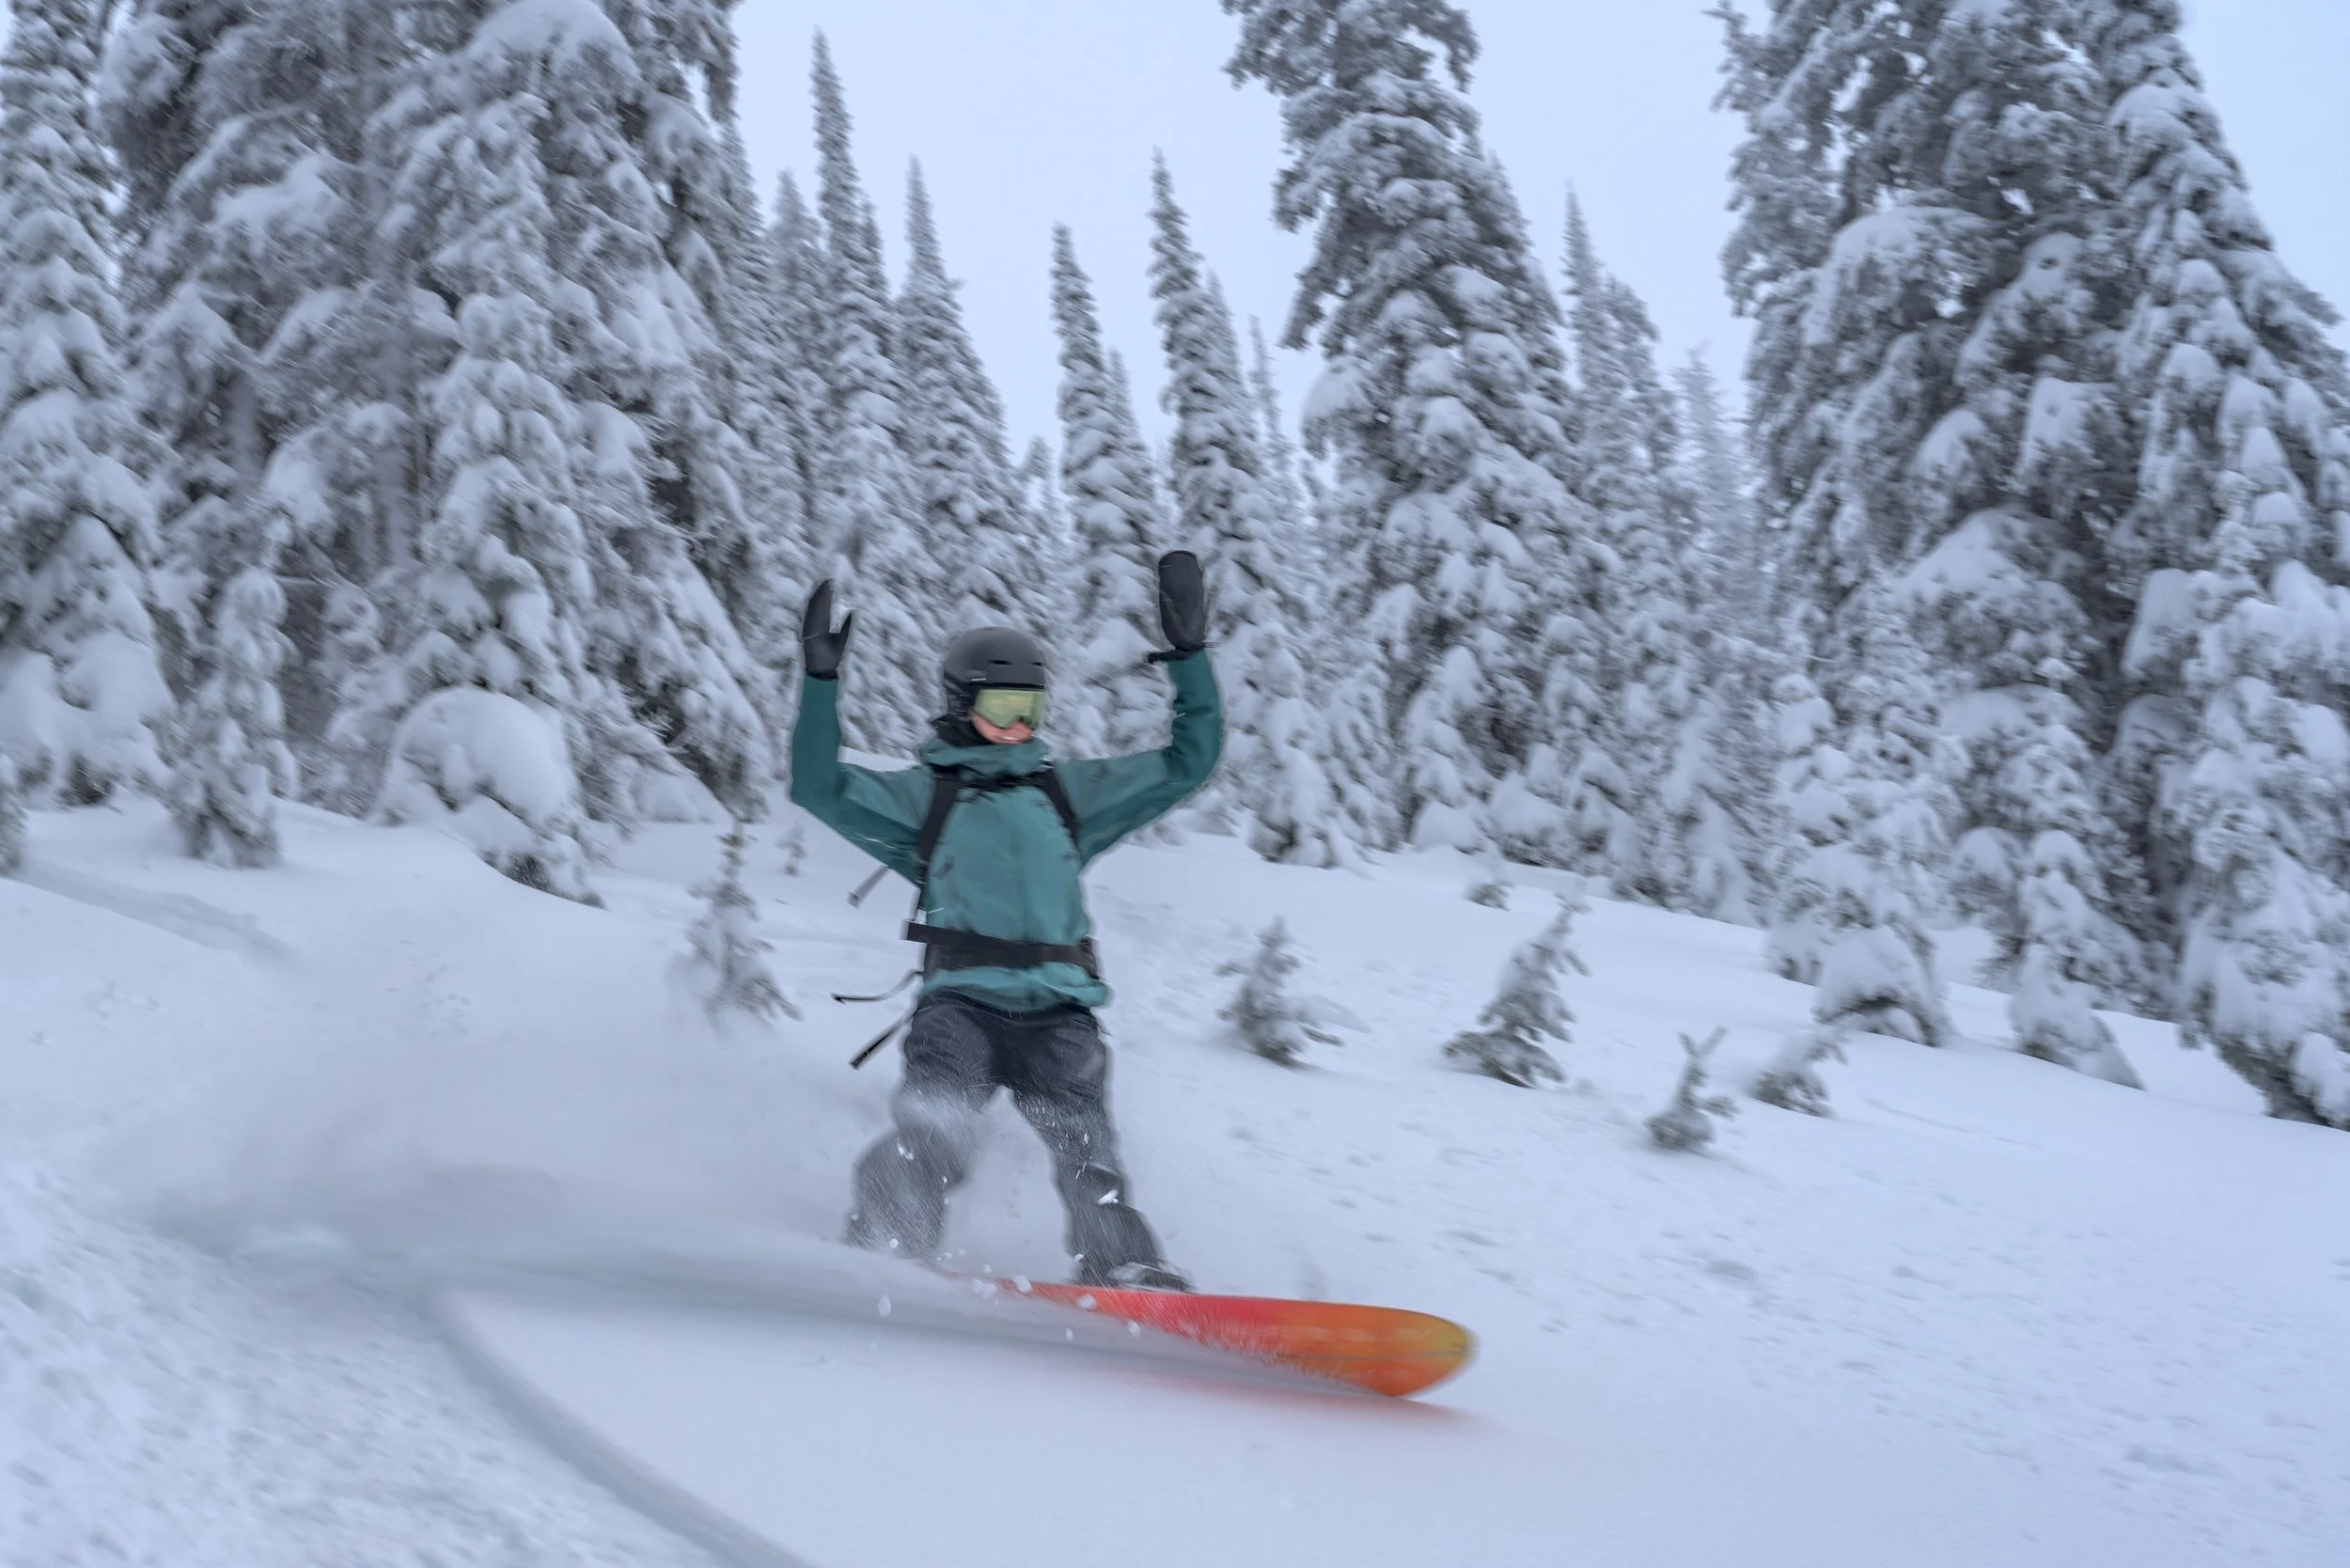
Make sure your shutter speed is fast enough to capture your subjects clearly. I made the mistake of shooting Rylee at about 1/160 of a second, and she came out blurry along with the background. She was the first one to board down. I quickly adjusted to about 1/320 of a second, and my photos came out much clearer. Next time, I might go even faster with the shutter speed just to be on the safe side.
Once you’re all set up and exposed correctly, you can let everyone know you’re ready, and they can come down one at a time or as a group, depending on what kind of photo you’re going for.
There you have it. Have fun out there and please comment or contact me if you have any questions!